Ain't she cute?? Funny thing is, I have been wanting this little lady for quite some time but I had this idea in my head that since it was a power tool it would be expensive. Not so!! This little cutie was less than $30 and it came with a $7 rebate. So in the end she cost less than we spend on coffee every week.
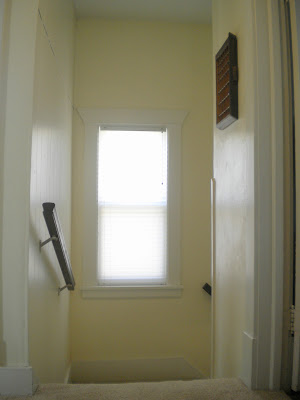
I have a slew of projects in mind where my new circular sander will play a role, front and center, but before I chew off anything too big I thought it would be smart to use her on a smaller project. So, remember this scene??
We all recall what a big improvement this is compared to what it was before...
But still, the number of different wood finishes in this small space felt chaotic. There are two different frames, the white around the window, the dark mahogany of the banister (we stained that last year), and that little table. I love that little corner table, for one, my Papaw made it (that is southern speak for Grandpa) but it also is made of about 8 different woods, which is awesome but as it turns out, not for this space. So we need to make some adjustments to the landing.
This new arrangement, sans table full of stuff, felt a millions times better to me immediately. But then of course as we lived with the adjustment, I felt like there was one more thing I could change. That's when I decided to try out my new sander. See, it's all coming together, sometimes it just takes a little while.
I have gruelingly sanded objects much bigger than this in that past by hand. It was actually shocking how easy this was. Hold the sander over the surface and the finish is removed. No sweat involved. First I sanded the top, then the outer edges and then the inner edges. All in all, this probably took me less than 30 minutes.
I taped it in place so it wouldn't get all leaky...
And then I applied two coats of primer, two coats of a flat white and finally a coat of clear glossy stuff to make it look all nice and finished.
The entire project was complete in a afternoon. And the end result...well, I think it even makes the poster pop a bit more.
I am quite satisfied...for now anyway...

Please tell, do you have a story about a little tweak that made a big difference?


No comments:
Post a Comment