Showing posts with label Style. Show all posts

Monday, April 23, 2012

Kitchen in Progress

Sometimes it's just one small addition that can make a room. Take for instance, our kitchen. I have really been struggling to like our kitchen. Perhaps a bit unfairly, as we have already made some nice changes to this room, but it still felt off to me. It's so WHITE! I know white is all the rage in kitchens right now, but not on the floor. Kitchen floors should not be white! It makes it feel dirty all the time. Also, our counter tops are white and stain easily and our cabinets are white and have been "touched up" with a different white and therefore look all splotchy. I dream of all the big changes we will make to this space one day, but in the meantime I am constantly seeking out small (read inexpensive) changes that will make it not just likeable, but lovable in the meantime. With that said, here is our kitchen:


And then a light bulb turned on in my head! Obviously I just needed to break up the white a bit. I needed a rug! In the kitchen! But not just any rug, something that could handle the traffic of a much used kitchen. Turns out, the fates were on my side, and after a bit of hunting I saw this rug for sale on One Kings Lane.
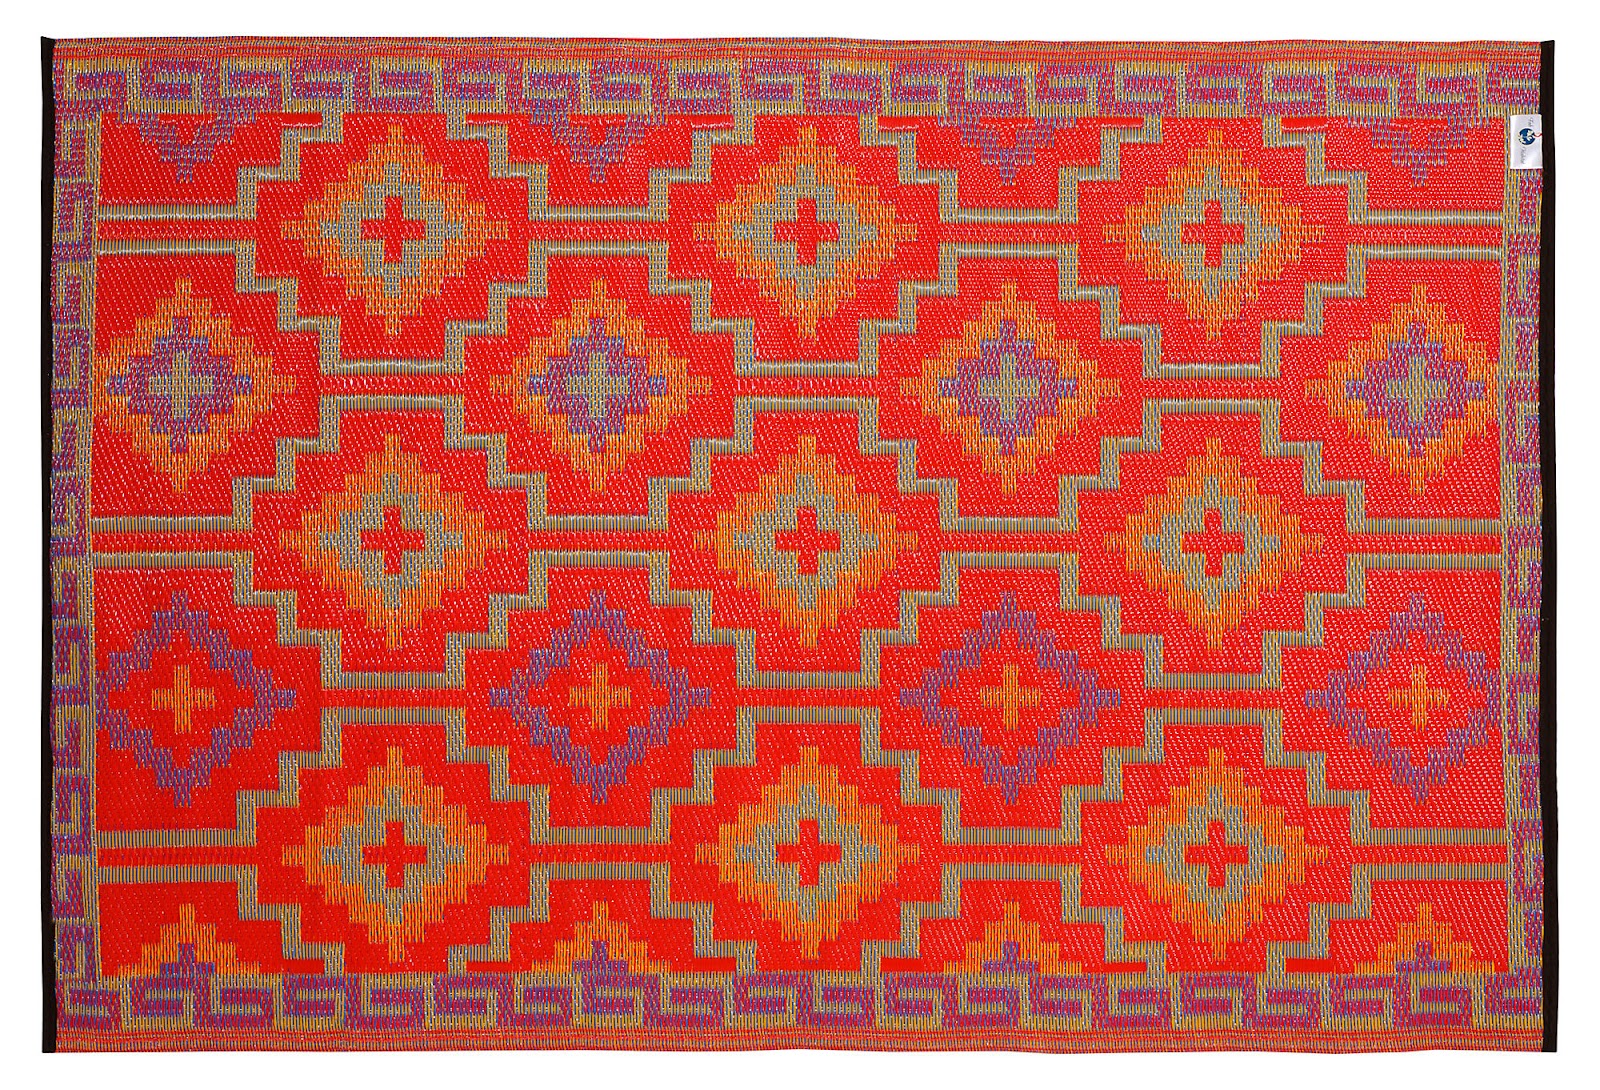
I read the description and was sold. (The bolded words are my own emphasis). 

What do we love about Fab Habitat rugs? For starters, the rugs render earth-friendly utterly chic, with vibrant designs woven from recycled materials and then finished by hand. They're reversible (for an easy style switch-up) and durable enough for the outdoors yet refined enough for inside the house. Lastly, the rugs are lightweight, meaning you can take them with you on picnics or camping. Redefine your concept of earth-friendly with an indoor-outdoor rug from Fab Habitat. The rugs are made using sustainable practices and rendered in vivid colors to effortlessly combine respect for the earth with a love of high design.

It took a few weeks from the rug to finally arrive, but it turned out to be worth the wait if you ask me. I went from hating our kitchen to feeling like it was a warm, friendly and inviting space that was begging for me to do a little cooking in it:


But, that's not all folks! See the color of the door? Well, when we moved in, our whole kitchen was that color. And it was INTENSE! And by intense I mean, dark and oppressive and it made the room feel really small! See what I'm talking about...


So yes, we have come a long way, but there is, as always, more to be done.

Here is what we have done "in the meantime":
-Painted the walls (the color turned out a little more intense than I wanted, and will probably get repainted again in the future, perhaps with this color)
-Added back splash above sink
-Replace unmatched light switch covers
-Replace overhead boob light fixture with ceiling fan

Here is a working list of what I would still like to do:
-remove the linoleum flooring and refinish wood floor if possible (if not, add new flooring)
-repaint all the cabinetry a crisp fresh white
-put in lower cabinetry on both sides of free standing stove - for cohesion's sake
-put a microwave vented range above stove that goes to the ceiling
-add open shelving in place of upper cabinets on either side of stove
-replace the counter tops - probably with butcher block

Obviously, if you have any suggestions/ideas for improvements, I would love to hear them! 

Thursday, April 5, 2012

Circle Scarf Madness

Anyone else notice all the cute circle scarfs out and about these days!?! I confess, I love them. They look so comfy and they wouldn't require readjusting throughout the day! I want one in every color! But I already have a millions scarfs seeing as how I wear them pretty much every day, whether its piping hot or freezing cold out. Not to mention, I have about 55 billion-katrillon things to spend my money on. Therefore, I decided my best option is to convert an old to scarf into a new scarf.

And luckily I have not one, but TWO green pashminas. I figured, if I totally botched this little makeover, I had a spare...so no worries. As it turns out this is ridiculously easy. All you need is a scarf, a sewing machine and one simple sewing technique -- the french seam. Here is what I did:

I snipped off the tassels.


Then I folded the scarf in half so the two ends lined up and stitched one straight line along the bottom. This scarf doesn't have an inside (wrong) versus an outside (right) so it did not matter which way I folded it together here, but if your fabric does have a right side and a wrong side, you want to start by sewing with the wrong sides together. 


To make the french seam work you will want to cut back the fabric as close to the hemed line as possible so that the seam is discreet when all is said and done.


Then you fold the scarf outwards so that you have the right sides facing and sew another single line along the edge. A french seam basically encases the raw edge of your first seam. That is all there is to it! This is a simple seam that I have used for a number of projects. Once you have it down, you will be surprised at how often you will find it useful. This illustration from the Sewing Cafe will hopefully help bring it all together if you still have questions.


And the finished product...


Cost = $0
Time = 10 minutes tops!
Easiest project ever! And I LOVE my new scarf.