Showing posts with label Sewing. Show all posts

Thursday, April 5, 2012

Circle Scarf Madness

Anyone else notice all the cute circle scarfs out and about these days!?! I confess, I love them. They look so comfy and they wouldn't require readjusting throughout the day! I want one in every color! But I already have a millions scarfs seeing as how I wear them pretty much every day, whether its piping hot or freezing cold out. Not to mention, I have about 55 billion-katrillon things to spend my money on. Therefore, I decided my best option is to convert an old to scarf into a new scarf.

And luckily I have not one, but TWO green pashminas. I figured, if I totally botched this little makeover, I had a spare...so no worries. As it turns out this is ridiculously easy. All you need is a scarf, a sewing machine and one simple sewing technique -- the french seam. Here is what I did:

I snipped off the tassels.


Then I folded the scarf in half so the two ends lined up and stitched one straight line along the bottom. This scarf doesn't have an inside (wrong) versus an outside (right) so it did not matter which way I folded it together here, but if your fabric does have a right side and a wrong side, you want to start by sewing with the wrong sides together. 


To make the french seam work you will want to cut back the fabric as close to the hemed line as possible so that the seam is discreet when all is said and done.


Then you fold the scarf outwards so that you have the right sides facing and sew another single line along the edge. A french seam basically encases the raw edge of your first seam. That is all there is to it! This is a simple seam that I have used for a number of projects. Once you have it down, you will be surprised at how often you will find it useful. This illustration from the Sewing Cafe will hopefully help bring it all together if you still have questions.


And the finished product...
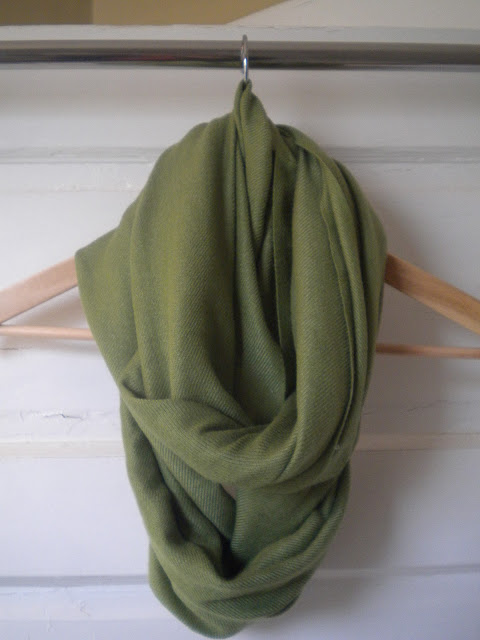

Cost = $0
Time = 10 minutes tops!
Easiest project ever! And I LOVE my new scarf.

Wednesday, April 4, 2012

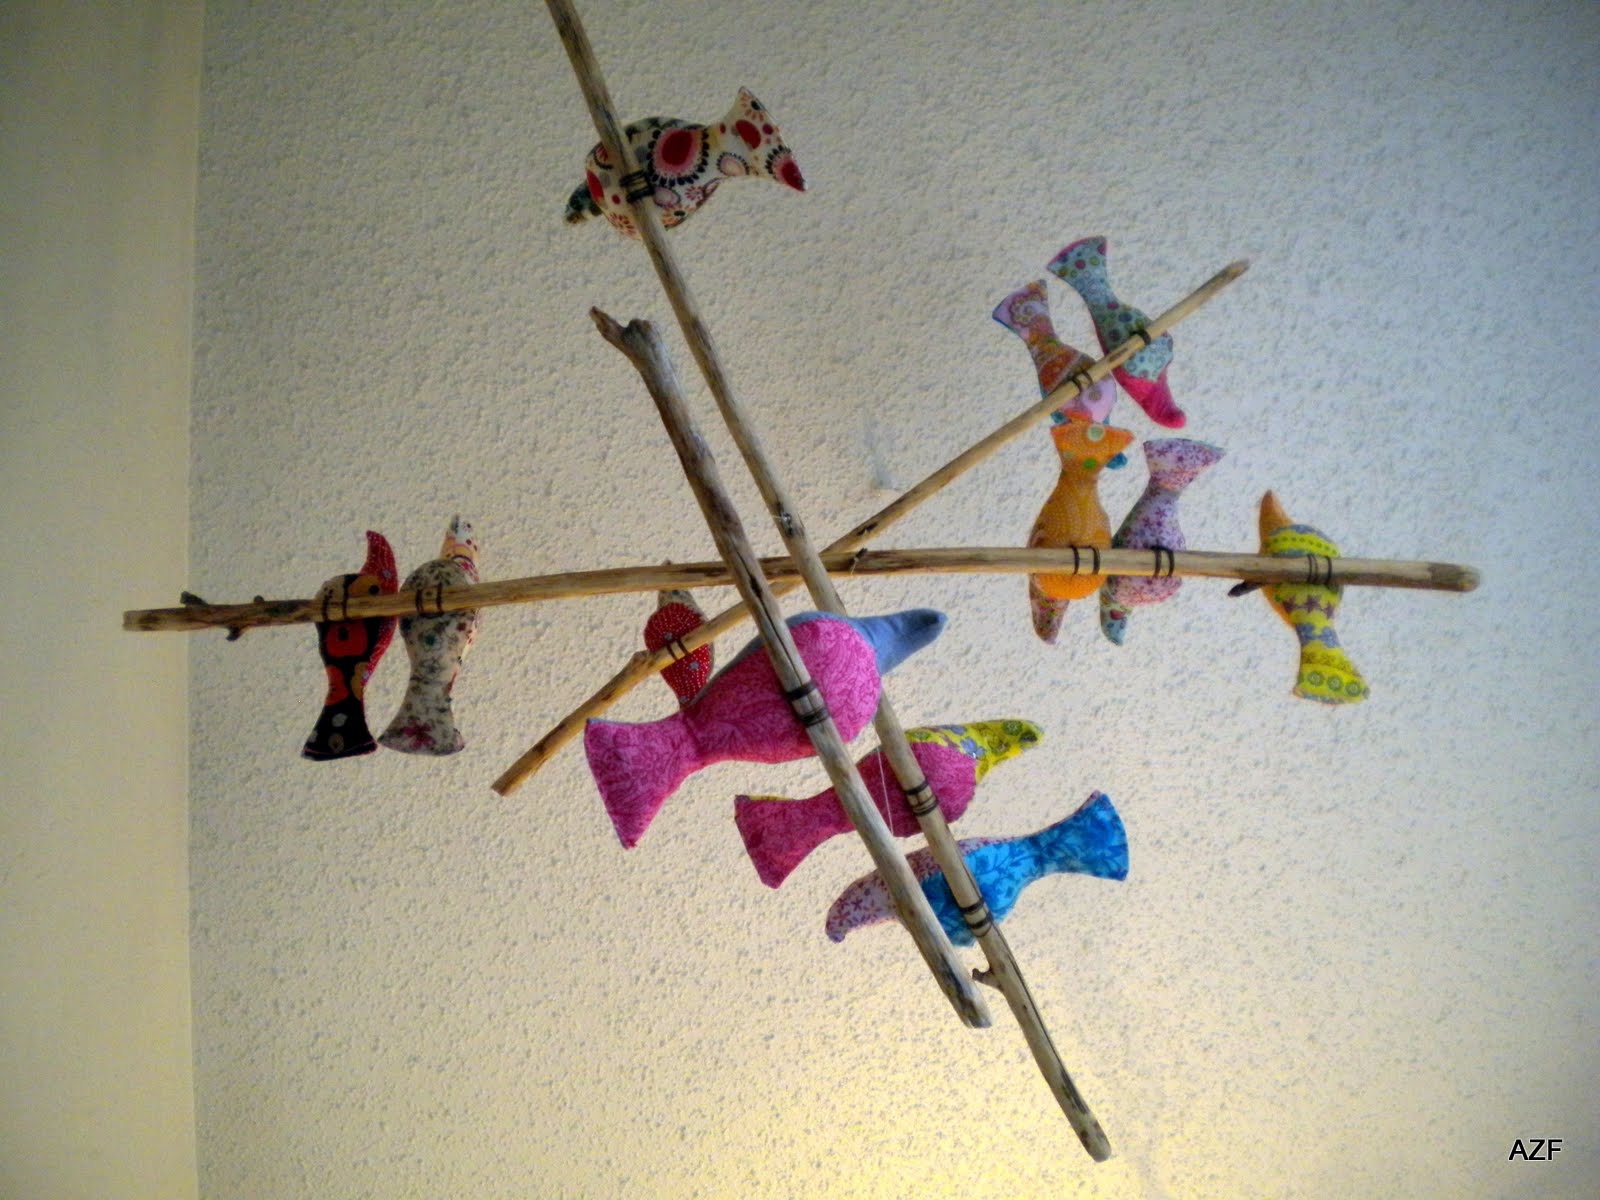
Alice's Bird Mobile

Hi Friends! I know, its been almost a week since I last wrote...wait...this isn't a letter. Anyway, it's not that we haven't been up to stuff. We built a new garden bed last weekend, actually Chris built it and I have about 20 posts drafted up for you. It's just that my photos are so unorganized that I haven't actually finished any of them.

So while you wait, I present you with this oldie-- but its a goodie. Two years ago, when we were living in Montana, before our favorite Alice was born and while we were over flowing with excitement and anticipation for her entrance into the world, I put together a bird mobile for her.  And just yesterday, her baby brother, Thomas was born. Thomas you are our favorite Thomas, we can't wait to meet you!


So, I am almost positive that you have seen this before. Why? Because I think everyone has seen this before. It first appeared on the internet (as far as I know) over at Spool. And it is awesome, as is their website in general. Additionally, they made it really easy to duplicate because they provide the template for the birds. All you need is fabric, for which scraps work really well.


I actually didn't have much for scraps at this point, because I was just getting into sewing for the first time as an adult, so I bought a bunch of quilters quarters which are cheap and come in an array of colors and patterns, fun for little baby boys and girls. Here you see them from the top.


And here from the bottom.


After I made this first mobile I made a second one for another dear child, Athena, who also happens to have a sibling on the way. I learned a few things in the process. For instance, for the first mobile I hand stitched the birds. And it took FOREVER! The second time around, I used my sewing machine. If you are nervous about using a sewing machine, start by using scrap fabrics you aren't crazy about. It's really not that hard and it will save you weeks. I'm not kidding. Also, you can slip stitch the tail closed or just sew it closed with your machine using a colorful thread.


I found the wood for this mobile in a neighbors yard, snatched it up (i.e. stole it) and biked awkwardly home with it. I soaked it in the bathtub until the really coarse outside fell off, then I hand sanded the s*it out of them, cut them down to size and sanded the s*it out of ends so they wouldn't poke anyone's eye out. To attach the birds, I just threaded "feet" through the belly of the bird and down around the wood. It's kind of awkward to do, but you will get the hang of it real quick. Or not so quick, but you will have plenty of practice.


If you attempt this, you will find the real stinker is balancing the whole thing. The birds will sit a top their branches fine if you thread them real tight (and you can use a little super glue, or hot gun glue for support if needed, which I know I used for one mobile and not the other, but I can't remember which). I was not totally in love with how the final bird hung on the original mobile, so my solution to this was to use two strings to hold it in place.


Oh, and because I wanted Alice to know this was for her, I stitched her name in the back of one of the birds. I thought, perhaps, someday it might make sense to remove the birds and discard the branches, but the birds could be kept around as soft little toys. Actually, this bird is made from her Aunt Rachael's old clothes, which makes it a bit more sentimental. So, thanks Spool for this idea and so many others as well.


And one more shot, possibly the most important as this is the one the babe's see. Not too shabby. 

Monday, March 26, 2012

Stairwell Revealed!

Remember back here when I told you I had plans for the other side of my boring stairwell?? Well, I am back, with photos, for the big reveal. In case you forgot, this is what we have been looking at for the last fifteen months since we moved in.  
One more before photo from the hallway upstairs. So boring!
It wasn't much to look at. But now!! Well, I think it's a bit better, don't you? (Unfortunately these after photos aren't totally spectacular, but you get the idea.)
This is how it went. I saw this picture on Design Sponge:

I love the way the curtain swoops off the to the side, it's soft yet pops and it allows a ton of light to come in which is a must. Doesn't it add so much to the window?  Along with that image is a really great tutorial on sewing a curtain of this style, make sure to check it out!

I found my fabric at Hancock on sale for $5 a yard! I bought two yards so all it cost me was $10 and a few hours of time. Luna made sure to get in on the action, per usual.
The most "exciting" part of this process was when my tie back I had just sewn caught on fire. Yeah....
Once that drama was over. I painted. I immediately loved the blue gray wall with the dark stain I put on the handrails.
We actually had this paint in our basement already. It was left over from the previous owner, and it is the color of our bedroom. Which ties to to the spaces together quite nicely. See?
With the curtains made and the wall painted, all that was left to be done was to hang my location love posters that I got from Ork Posters. 

Here is a nice action shot of the man of the house!
Before:
After:
Before:
After:
There is still some tweaking to be done here. I plan to paint the frame for the Chicago Poster white to match the St. Paul Poster frame. And I'm not sure if the shelf will stay or get replaced with something else, or maybe I will cover it with something, as I am not digging all the different woods going on. But for now, I am very happy with the overall improvement. 

Oh and my favorite little bit. This red button I used for the sash. It's a subtle but awesome little pop. 
In other news, I am working on a house tour for those of you who are not acquainted with the layout of our place. It may be a while, but it will eventually show up! Thanks for stopping by!

Wednesday, March 21, 2012

Sweet Sack Giveaway!

That's right! You heard me! Luminous is offering up it's first ever give away!

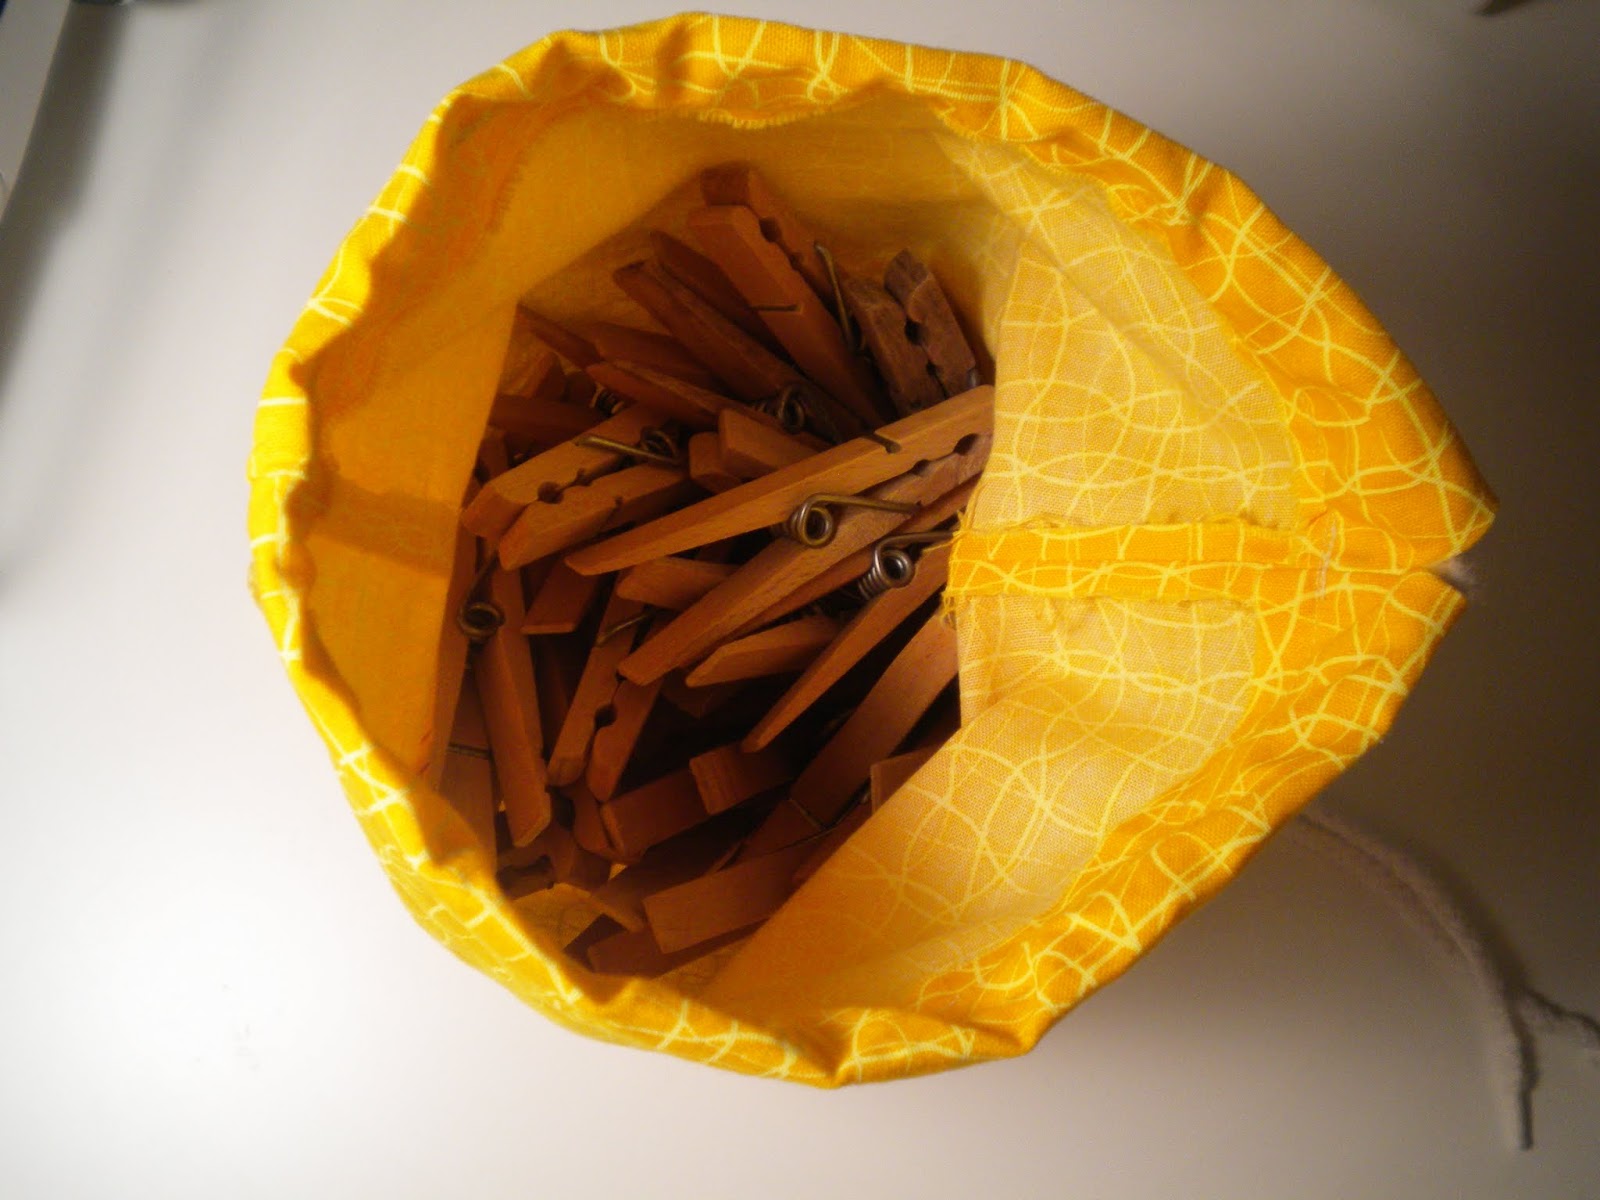
Last night, I was looking at this ugly little pile of clothes line clips that have been hanging around the house. And I thought, "Well shoot, there is no need for this!" 


I decided, why not make a sweet little sack to hold them in. Something colorful that will pop in the back yard. And I'm going to make one for one of y'all as well.


See how nicely she does her job of holding these clips, while looking so inconspicuously cute?


Really, she could hold all sorts of stuff. You could put her in your purse and have her hold the items that you always losing. Or keep her in the car for a little discretion from passersby's. The options are endless (kinda)!

But, in case you would rather make one of these for yourself instead of trying to win one, this is how I made it.

I took a fat-quarter, folded it twice:


Then cut it in half:


Flipped it inside out:

Photo

I made a mark where I wanted to leave hole so I could string a cord through to tie the bag:

Make sense?


Sew along one side, across the bottom (where the fabric is folded) and up the other side. Leave the top/4th side unsewn. Once you reach the bottom mark on your fabric, back stitch, pull out the needle and sew forward and back at the top of that edge. When you are done, it will look like this:


Press out the seam on the side with the opening. At the opening itself, press out as much as the fabric will give: 


Fold the top of the bag towards the wrong side of the fabric, till you get this sweet little heart shaped opening. (Seriously, this little lady is just asking for some love!)


Press:


You have the option of looping your chord under the fold now, or waiting until you finish sewing. I did it at this point because I find it so tedious after it's been sewn shut:


You just have to give a little extra attention when you are sewing this next part that you don't catch the cord, but it's no biggie really:


Sew along the bottom edge:


It happens, don't feel bad. Check your threading and get back to business.


Cut off any hanging thread:


Check for any problems with your stitching, and then fold right side out:


Ta-da!! (Questions? Just ask!)


So here are the giveaway details:
The PRIZE: The same sack made with this lovely green fabric.


TO ENTER: Comment on this post and tell me what you would use this sweet little sack for.
GIVEAWAY CLOSES: Thursday, March 22st at Midnight.
OTHER STUFF: One entry per e-mail address is permitted. The winner will be selected using random.org and announced on Friday as an update to this post. That’s right, come right back here on Friday for the announcement of our winner. Good luck…
The giveaway is over! Congratulations to TomFool!!